NITA
Gadgets


Hypercharge

Star Powers


Gears

Star Power & Gadget Win Rates
Measured ranked win rate and pick share per star power and gadget — updated daily from our own battle data.
★ Star Powers
◆ Gadgets
Method: battle logs don't expose equipped items, so only battles from players who own exactly one star power (or gadget) on this brawler are attributed. Treat small samples with care.
Abilities
Gadgets
bear paws
Nita commands her bear to slam the ground, stunning all enemies within its reach. Cooldown: 13 seconds.
Buffie: Her bear gains 50% damage for its next attack.
faux fur
For the next 3 seconds, Nita's bear gets a 35% shield against damage. Cooldown: 14 seconds.
Buffie: Nita and her bear become invulnerable for 0.5 sec.
Star Powers
bear with me
Nita recovers 1092 health whenever her bear hits an enemy brawler. When Nita deals damage to an enemy brawler, her bear regains 1094 health.
Buffie: This ability can overheal Nita or her bear for 2000 health.
hyper bear
Nita's bear attacks faster. Time between swipes is reduced by 60%.
Buffie: Summoning Nita's bear gives her +25% reload speed for 3 sec.
Hypercharge
hyperbearing
Nita hypercharges Bruce, making him increase in size, giving him 15% increased movement speed and 20% increased health.
Buffie: Nita's attacks increase in speed, width and range.
Win Rate Trend
Daily ranked win & pick rate over the last 29 days. Dashed lines mark balance patches.
Win Rate by Mode





Matchups
Counter Dictionary →▲ Strong against
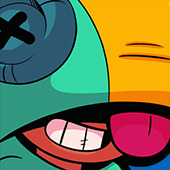

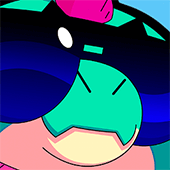
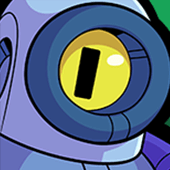
▼ Weak against


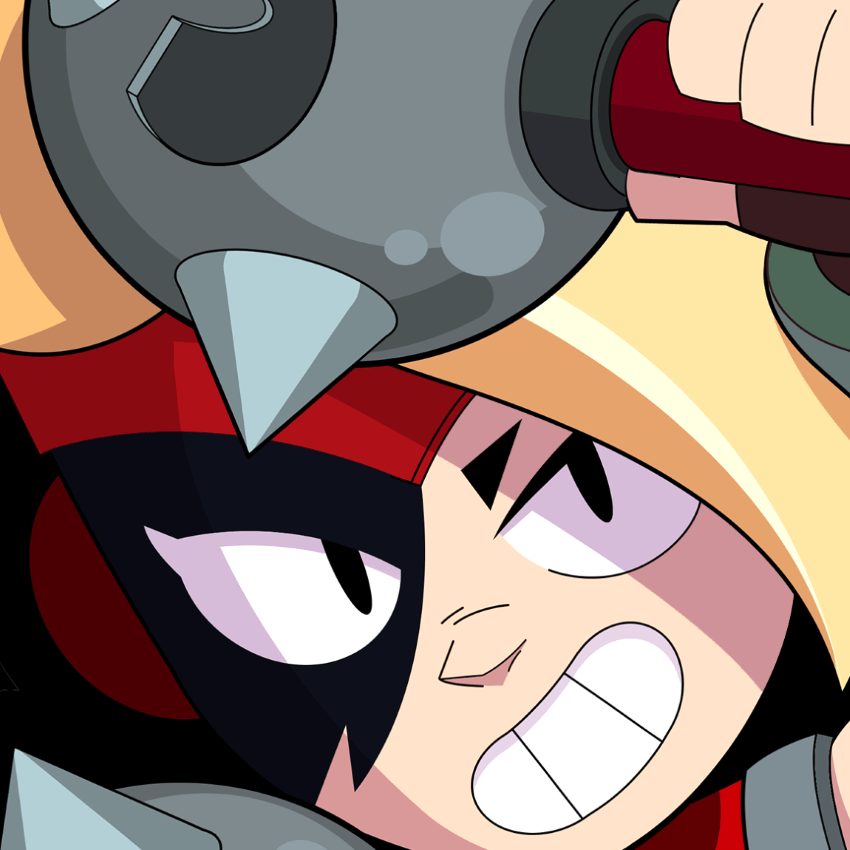
Guide
Nita is a mid-range brawler who fires a piercing shockwave for area damage. Her range is short, but high health suits a push-and-hold style. The core is pressuring clusters and bushes with her piercing shots.
Her Super summons a big bear that auto-hunts enemies. The bear draws aggro and adds firepower, creating a numbers advantage and pressuring enemies in a fight. Releasing it into the enemy formation to break it up is effective.
The Bear Paws gadget makes the bear charge for variance, while the star power is a choice between Hyper Bear to boost it or Bear With Me to heal near it. Her bear pressure shines most on close-combat Gem Grab, Hot Zone, and Brawl Ball maps.